I have been working on a project called “EIMS” since last 2 months with my two NIBM colleagues ( Ravindu Kaluarchchi and Isuru Madushanka). We developed the software for a Software Competition which is conducted by a UCD Alumni Association of Srilanka.
Actually we just wanted to introduced something new thing to the world.So we hardly work on the project during the last two months.
Today I’m glad to say our product won the first award of the Software Competition.There are 40 competitors After the winning most of the people asked from us what is “EIMS” ? , And how its different from other solutions ? etc…..
So i created this post for answer the all the questions and Introduced our product to world.
Decision Support Center of EIMS
What is EIMS ?
EIMS stands for Educational Institute Management System. It is a powerful management information system to easily manage any educational institute.
Actually its not like common management system we target our product for a institutes ,Universities , Schools and Colleges.
But Why EIMS ? and How is it different from other institute management systems ?
EIMS doesn’t use the traditional ways of other management systems . It uses a new approach.
More concentrated toward the lecturers.
But still allows the management to use the traditional ways of a management system.
EIMS is keep track on following areas >>>> >>>>>>>>>>>>>
1. Student Management
2. Exam Management
3. Decision Support and Reporting
4. File Sharing
5. Messaging
6. Hall management
7. Lecture Scheduling
8. Exam Scheduling
What are the Features of EIMS ?
- Designed for surface computers.
- Touch Friendly interfaces.Multi User support.
- Runs on different platforms.
- Portable.
- Easily maintainable.
- Allows users to easily test the system without installing it ,by running the system from a live CD or a USB.
What are the Benefits ?
- Lecturers can upload all their files,mark sheets,papers etc. to the server there by saves time and space.
- Lecturers can access their lecture material from anywhere ,there by saves lecturers from the trouble of caring their lecture material , mal-functioning cd roms ,usb drives.
- Provides easy messaging between lecturers.
- Analyzes student , batch progress and displays in a graphical manner so that lecturers and the management can easily make their decisions.
- Lecturers can easily view their schedules.
- Easy scheduling system and Hall management
Technology used and the architecture of EIMS
Language : java
Target platform : desktop ,surface
Technologies used :
- Java RMI
- Java persistence
- Jasper reporting
Database : mysql
Here is the screen shots of the Overall System >>>>>>>>>>>>>>>>>
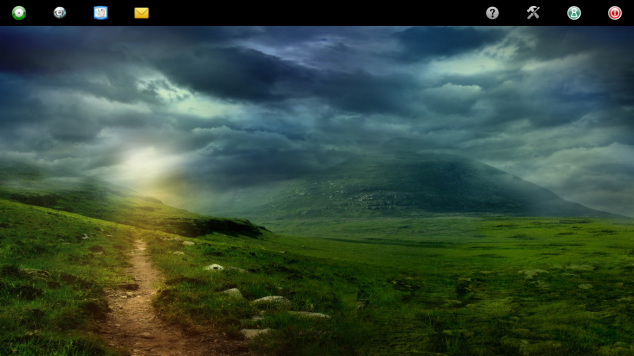
Main Screen with the menu on the top
You can see there is no traditional menu like file , edit ,view ect you have all the desktop to do your own works.
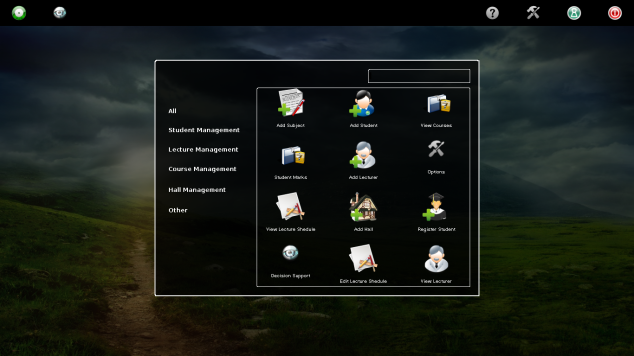
Main Menu
Simple icon style menu easy to use and user friendly.
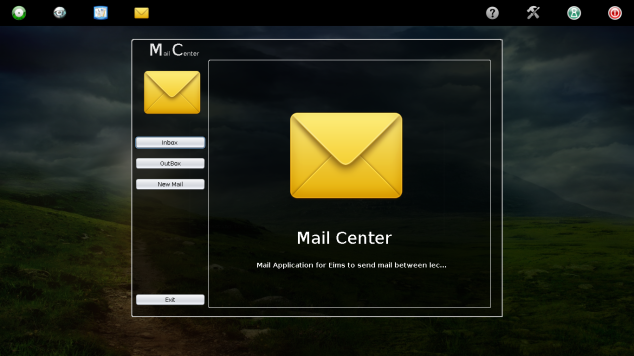 Simple messaging center easy to use and fast.
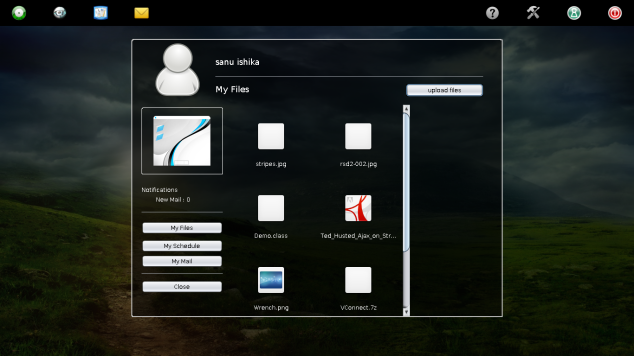
Lecture’s Desk for easy file sharing
This is where lectures can upload their files lecture notes etc….
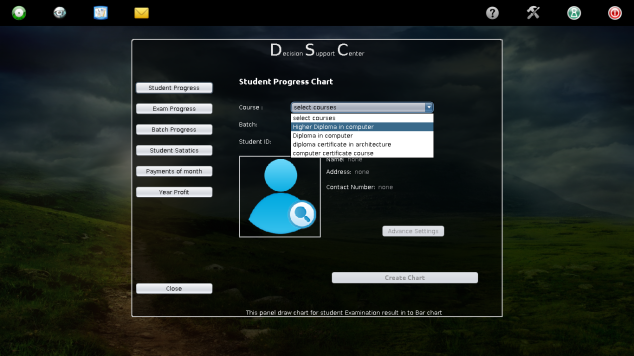
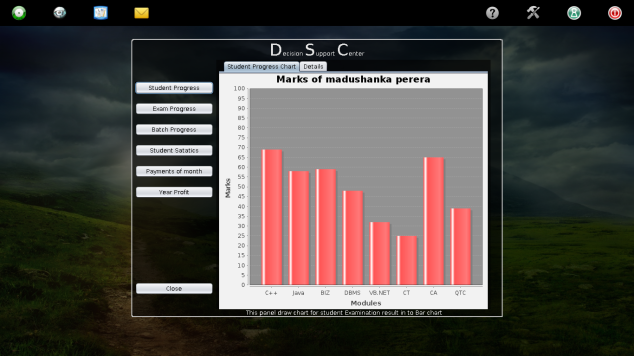
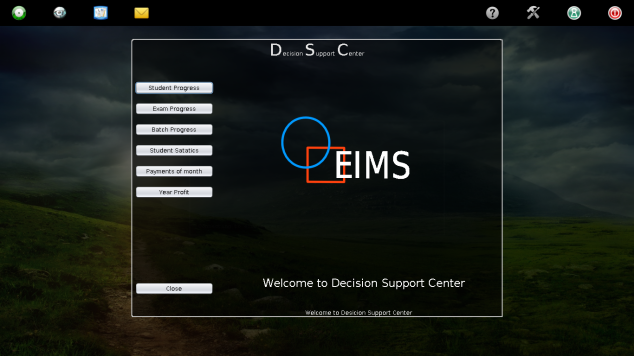
Easy reporting with EIMS decision support center
We provide an easy tool for your Reporting jobs.
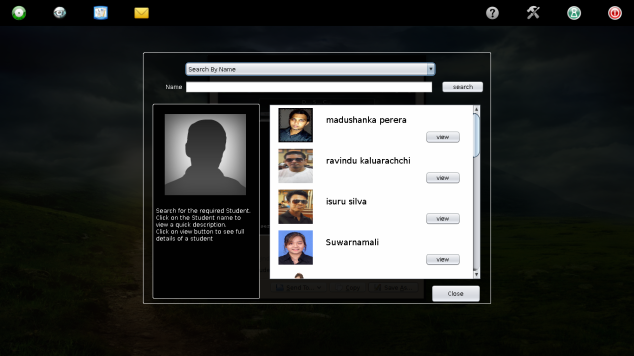
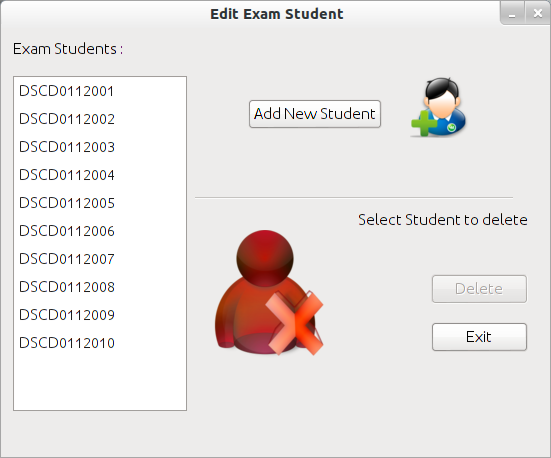
Student search tool of our Student Management System
Our student management system consists of easy tools like this.
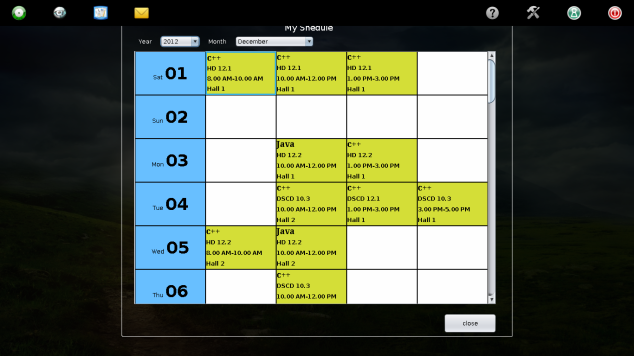
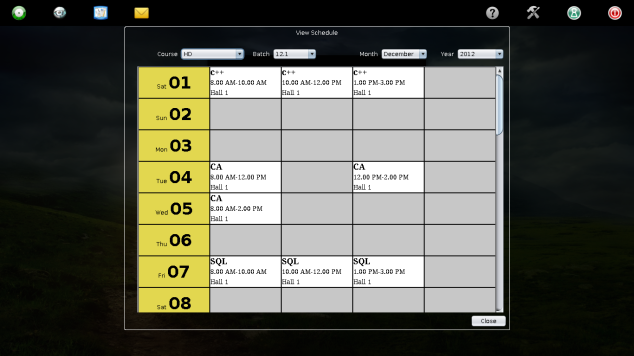
Lecture Scheduling with easy interface
We allow user to do scheduling very easily.
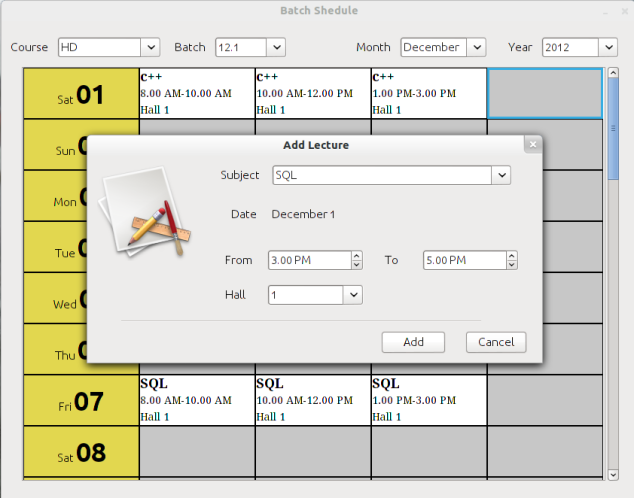
Add Schedules its fast and easy

Exam Management with EIMS
This is the place you can manage students exam marks and generate Result sheet very easily.
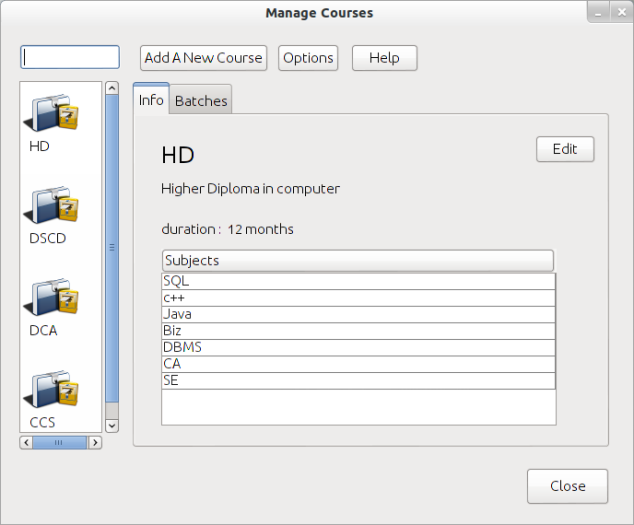
Course Management
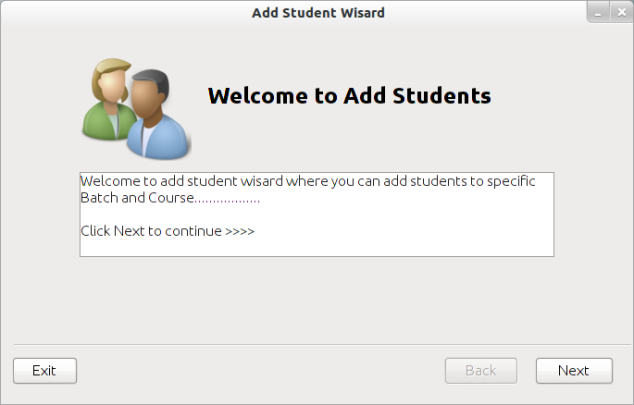
Student Registration Wizard
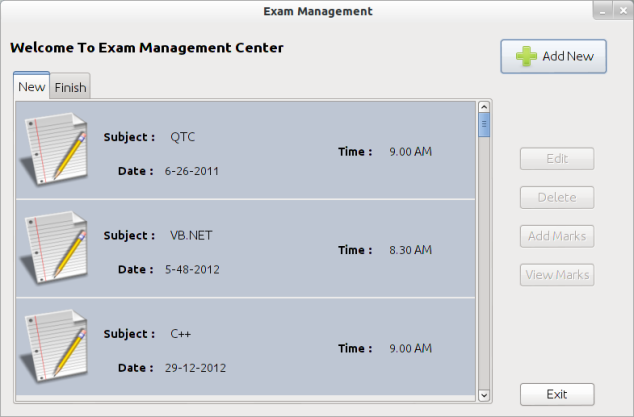
Exam Management Center
We mange to track exam scheduling also with our Exam Management Center
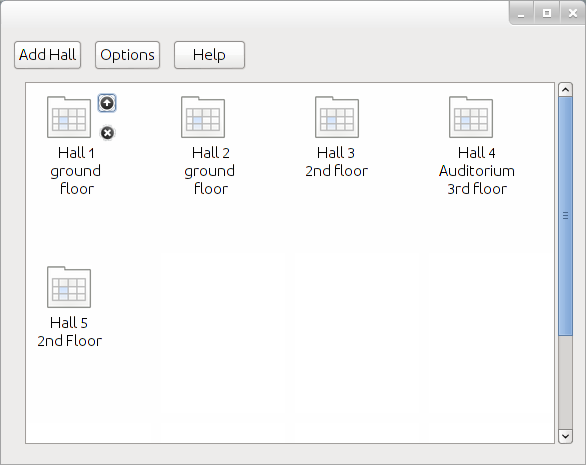
Hall Management With EIMS
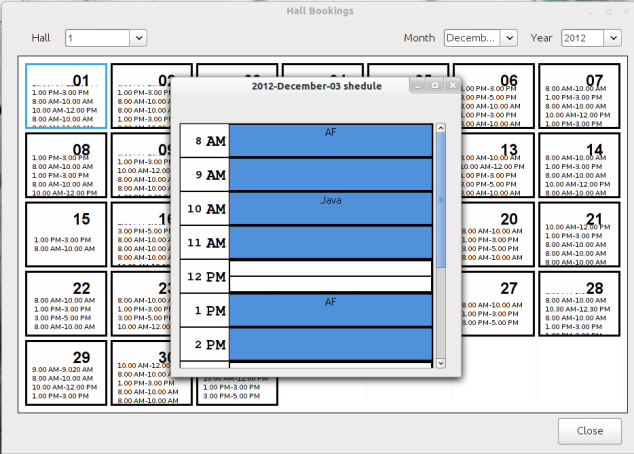
Hall Scheduling
Most important part of the Institute is “Hall Management “. Solution is our Hall Booking Center
Briefly i have mention above the overall system features that we have developed for the competition but we are flexible enough for customize and add more features of this product as you wish if you are interest with our product.
Finally I would like to thank all who helped us to success this project.